I’m interrupting our usual battle report/campaign posts, because I’ve been asked by many people how I create my cobbled bases. After Thiago Lopes over on the Rangers of Shadow Deep Facebook group threatened me with a curse of rolling 1’s, until I posted it, I thought I ought to get on with it, being the superstitious type that I am!
Cobbled together:
I don’t know what came over me, but a few years ago, I came across some thin pieces of foam in my local craft shop and began experimenting with using them to texture my bases and developed this cheap, effective method. Since then I’ve used it on my Mordheim warbands, Warhammer quest figures, Frostgrave miniatures and of course, for Rangers of Shadow Deep models!
Anyway, here’s a quick tutorial. At the end, I’ve posted lots of pictures of my finished bases for your perusal, as well as some scenery projects which can be done using the same method!
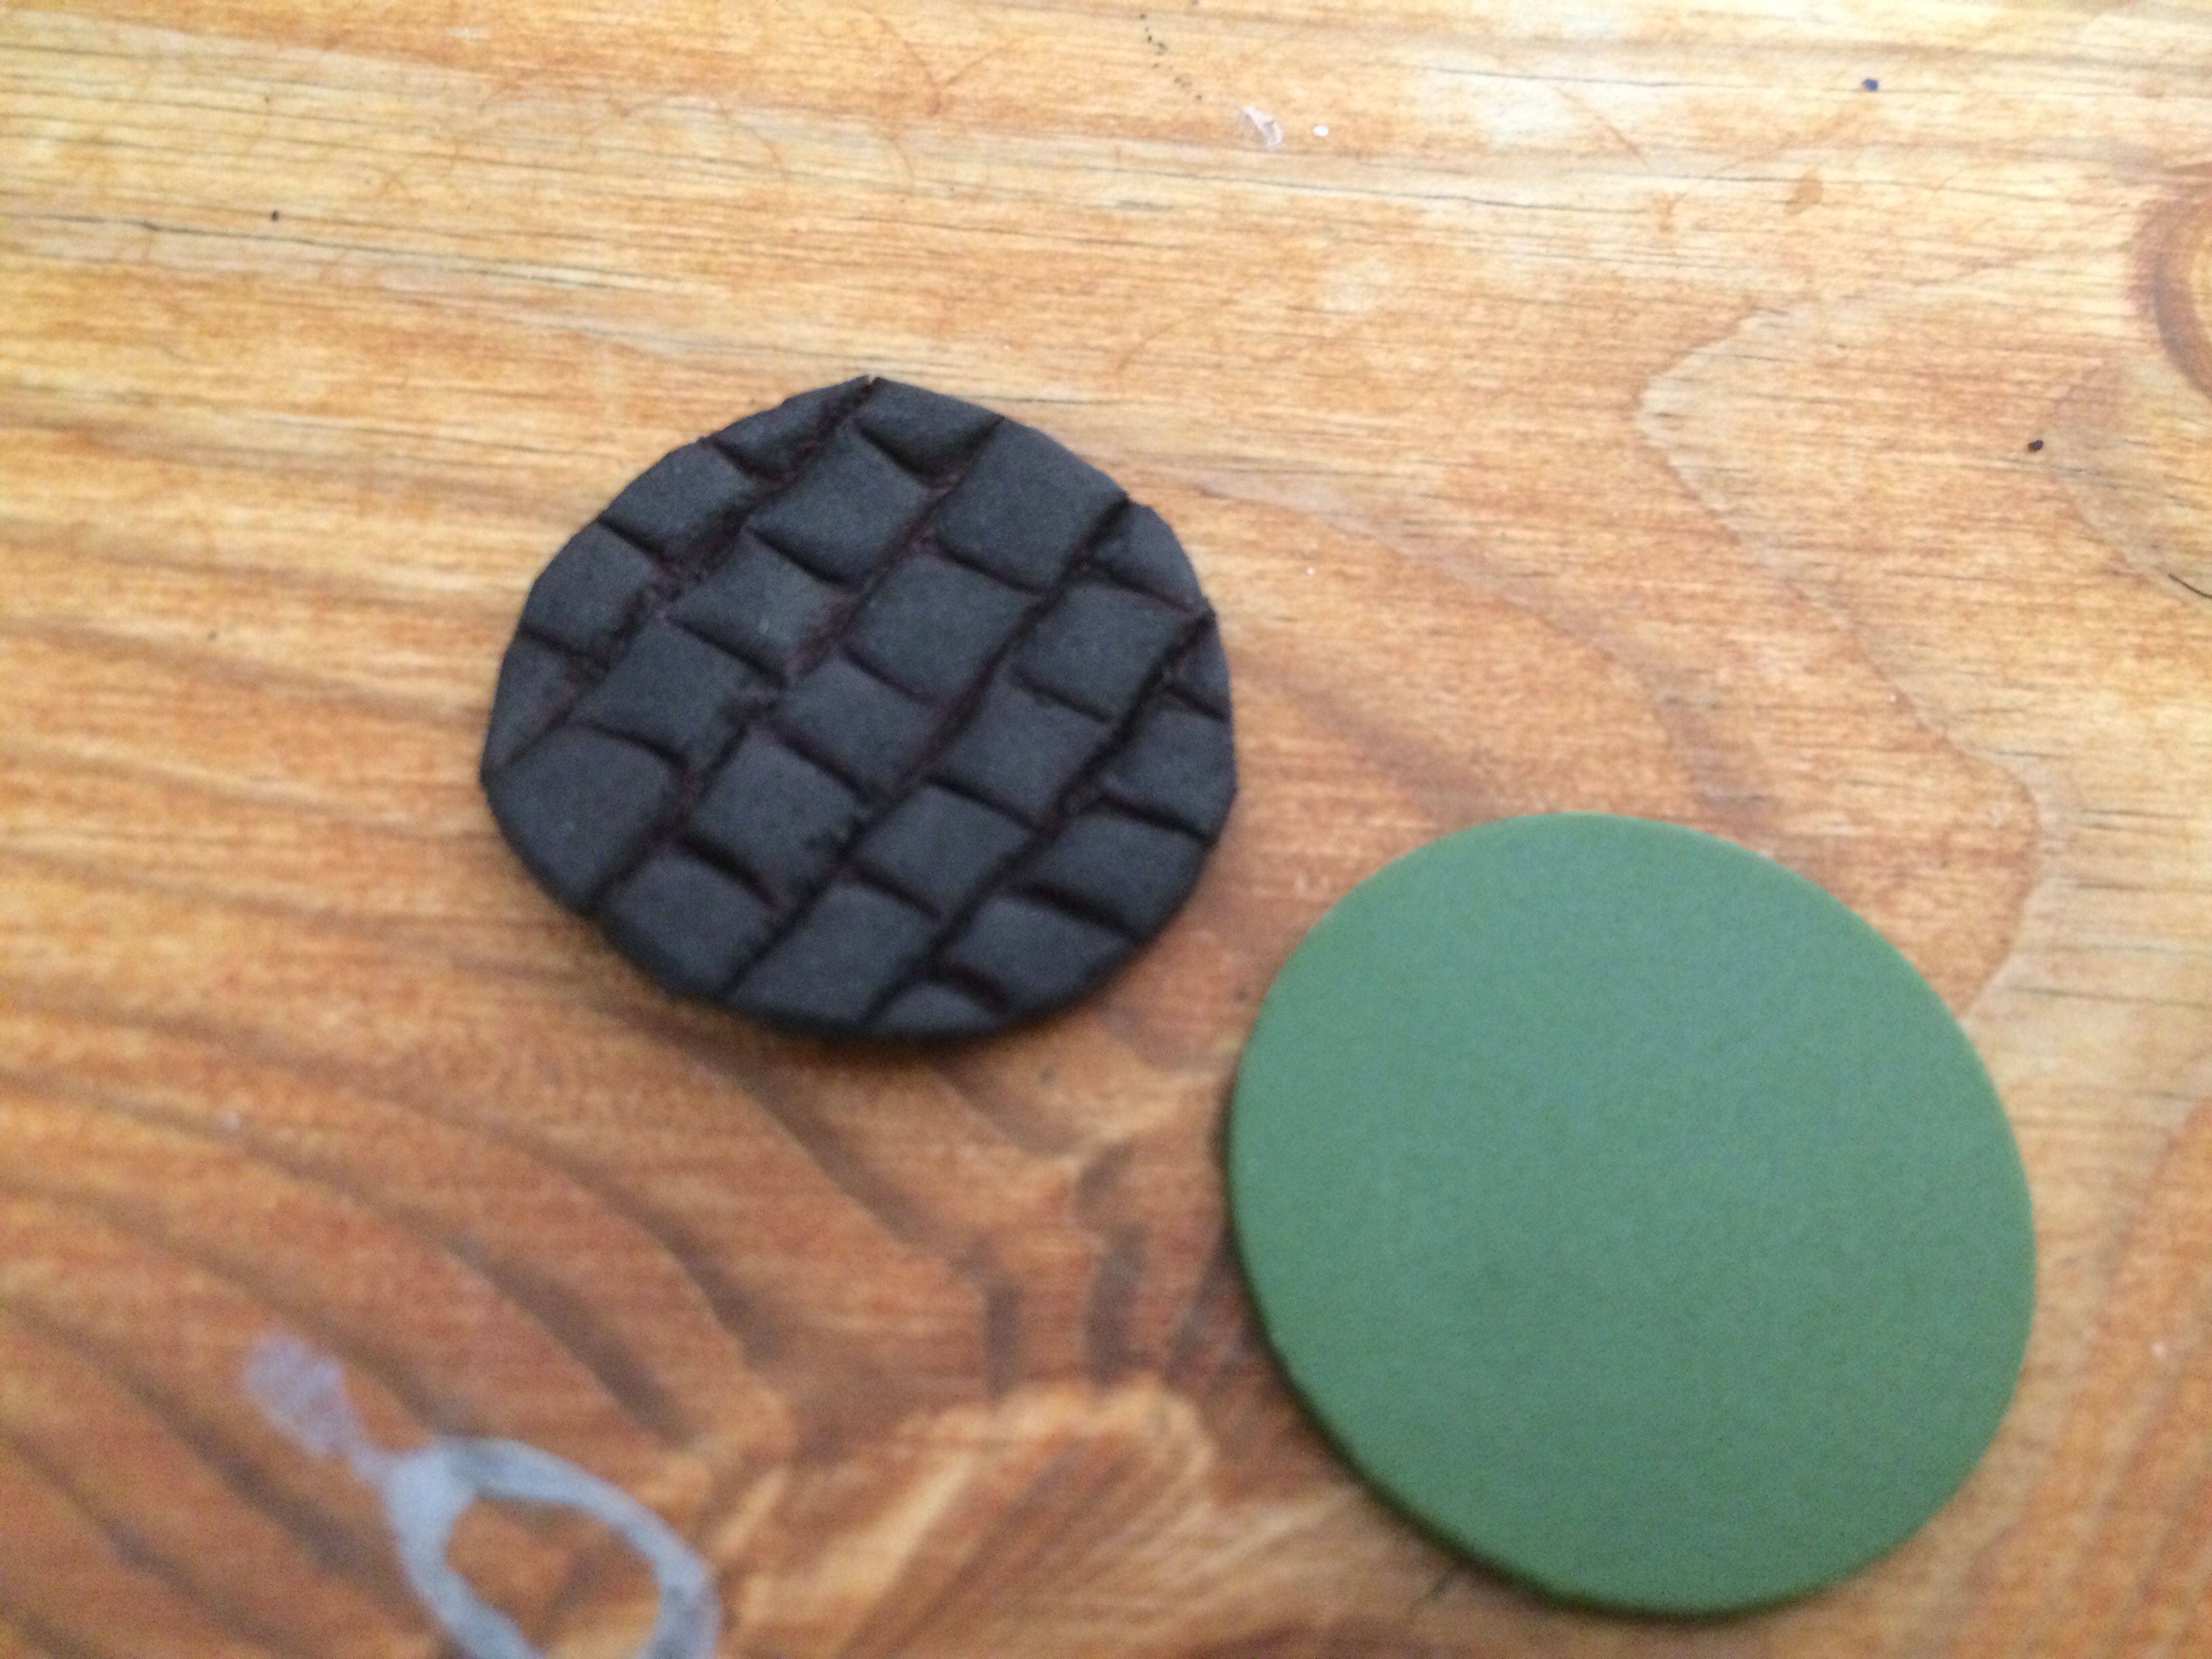
Step 1: Buy some foam:
Step 1 is super easy, after all buying things is a skill all wargamers can claim to be good at. Here are some pictures of the foam, which can be bought in A4 and A3 sizes and a variety of colours from Hobbycraft here in the UK. I usually buy black seen as I’m going to spray it black anyway, just in case any colour shows through.


Step 2: Cut the foam to size:
After choosing your base, you want to cut a piece of foam to size. I find that simply pressing the base firmly into the foam creates enough of an impression to then cut out! I use 25mm Rendra bases for my Frostgrave and Rangers miniatures, but you could use this method with any base!

After you’ve created your impression, cut round it with some small scissors. Don’t worry if it isn’t entirely flush to the base at this point, the scoring in the next step can stretch the foam, so we’ll cut it flush to the base later!

Step 3: Score in your brick pattern:
Next it’s time to score the pattern in. I usually measure out rows around 0.4cm and simply score across the foam at these intervals with a ball point pen. Seen as we’re creating cobbled stone streets in a medieval/fantasy style, it doesn’t matter too much if they’re uneven or slightly different sizes, or if your line work isn’t perfectly straight. If you want a more even looking pattern, like modern brick work for example, you could measure more precisely and use a finer tipped scoring tool.

After you’ve created the rows, simply start scoring a brick pattern in with your ball point pen. I usually round off the corners, to make them more like authentic stones. You can see that upclose, I’m not actually very neat with this! I’m sure many of you will be able to improve on my method!
Step 4: Tidy & stick:
I’ve noticed that the scoring process can sometimes slightly stretch the material, so you may now notice that your foam piece is slightly bigger than the base it is destined to top! Fear not, simply glue it in place and cut off the excess with some small scissors to make it flush to the base!

Once your base is finished, you can either paint it separately, or do what I do, which is stick the model on it and prime it ready to paint with the model in situ!

Step 5: Painting:
I have a simple technique for painting my bases, which revolves around edge highlighting to make them pop and enhance the visual appearance of depth. First, once your model is painted, paint each cobble stone with Eshin Grey (GW paint range – though any dark grey will do). I’ve not tried it yet, but I can’t see why this method wouldn’t work for sandstone coloured cobbles either!

Next, drybrush each stone with Dawnstone (GW paint range – though any light grey will do) with a small drybrush. This just adds a little depth and stops the final edge highlighting looking so stark.

Finally, mix some white with your Dawnstone (or whichever grey you use) and edge highlight each individual stone. This can be tedious but it makes each stone pop and exaggerates the depth between them. I edge highlight everything so over the years have become one with the tedium.

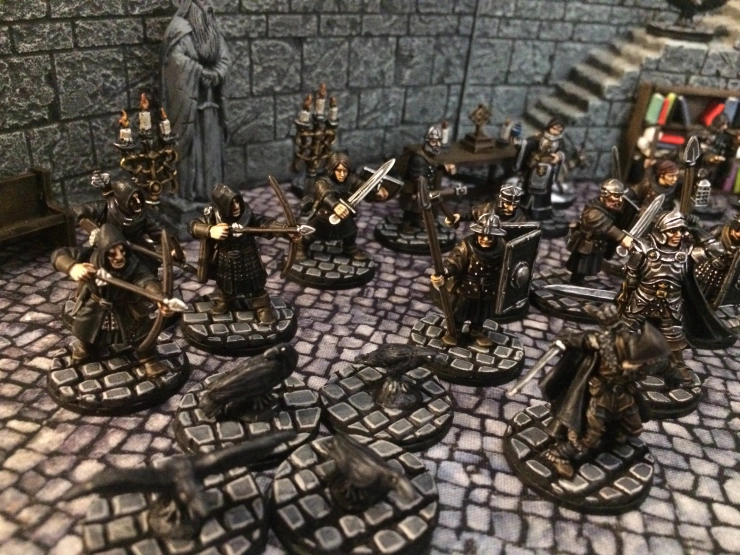
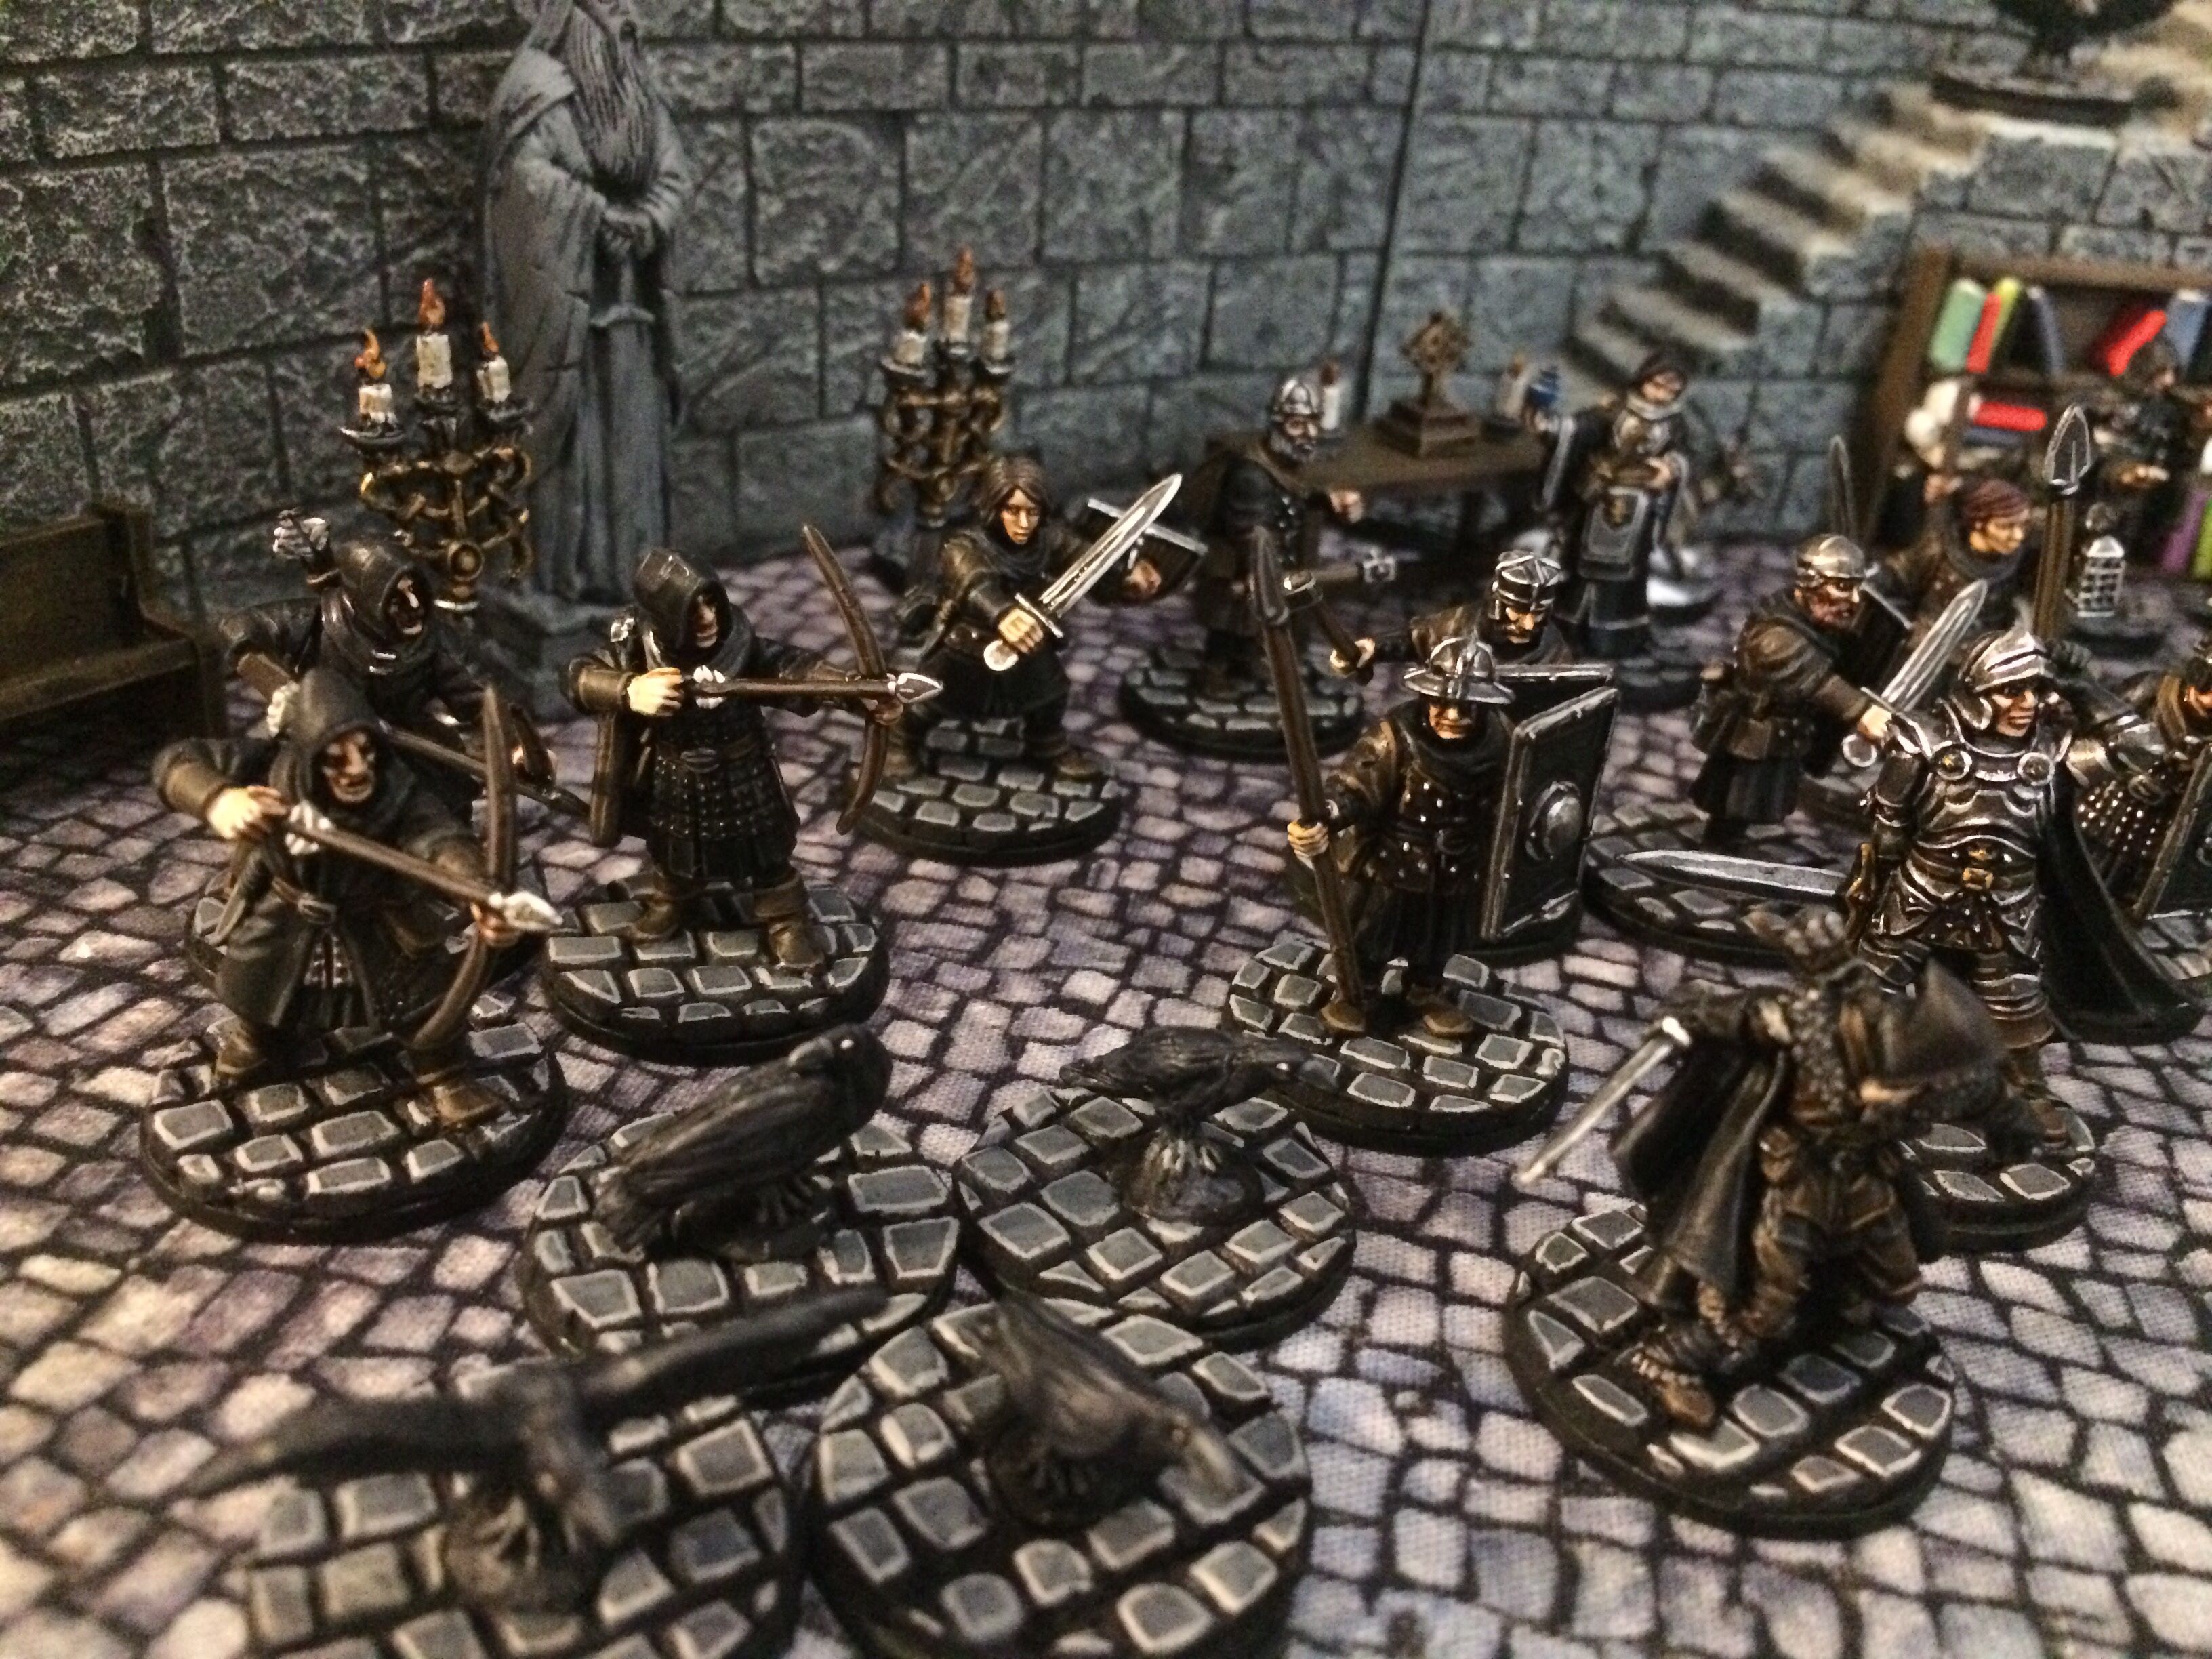
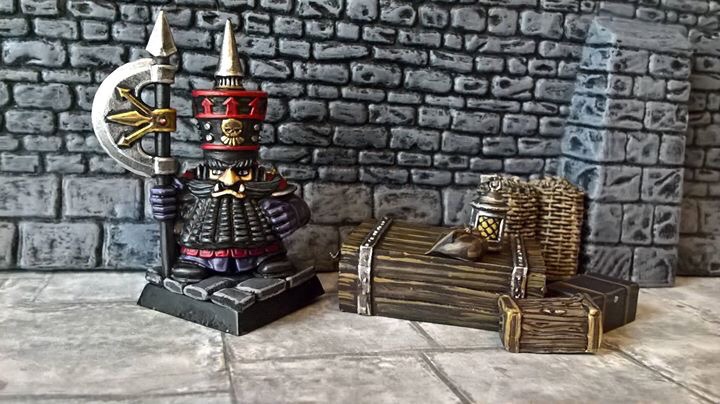
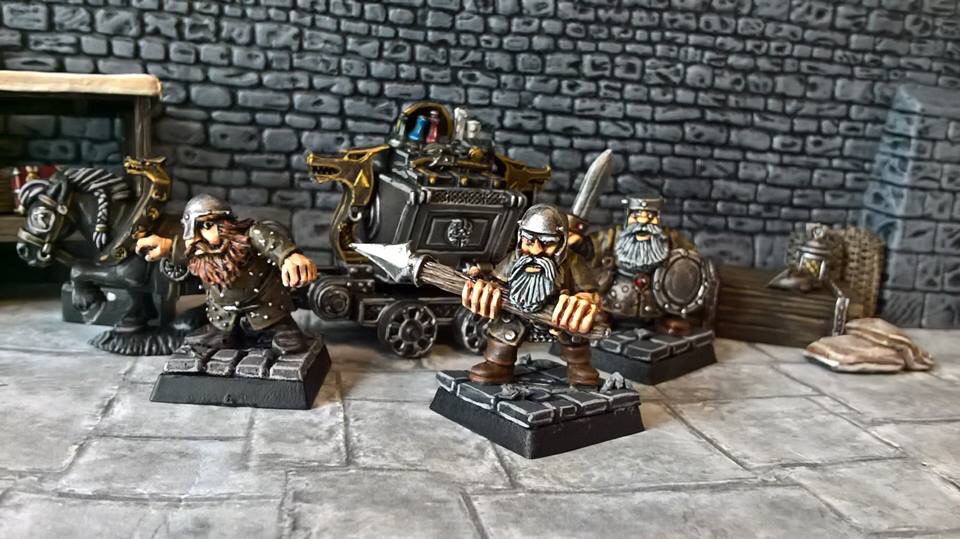
So there you have it! If you have the resolve for it, try and paint units together, so your grey mixes are consistent. Here’s our finished example with Captain Willem and the Tallis city watch, who I’ve just finished for an upcoming custom Rangers scenario!

Gallery: ‘Foaming’ at the mouth!
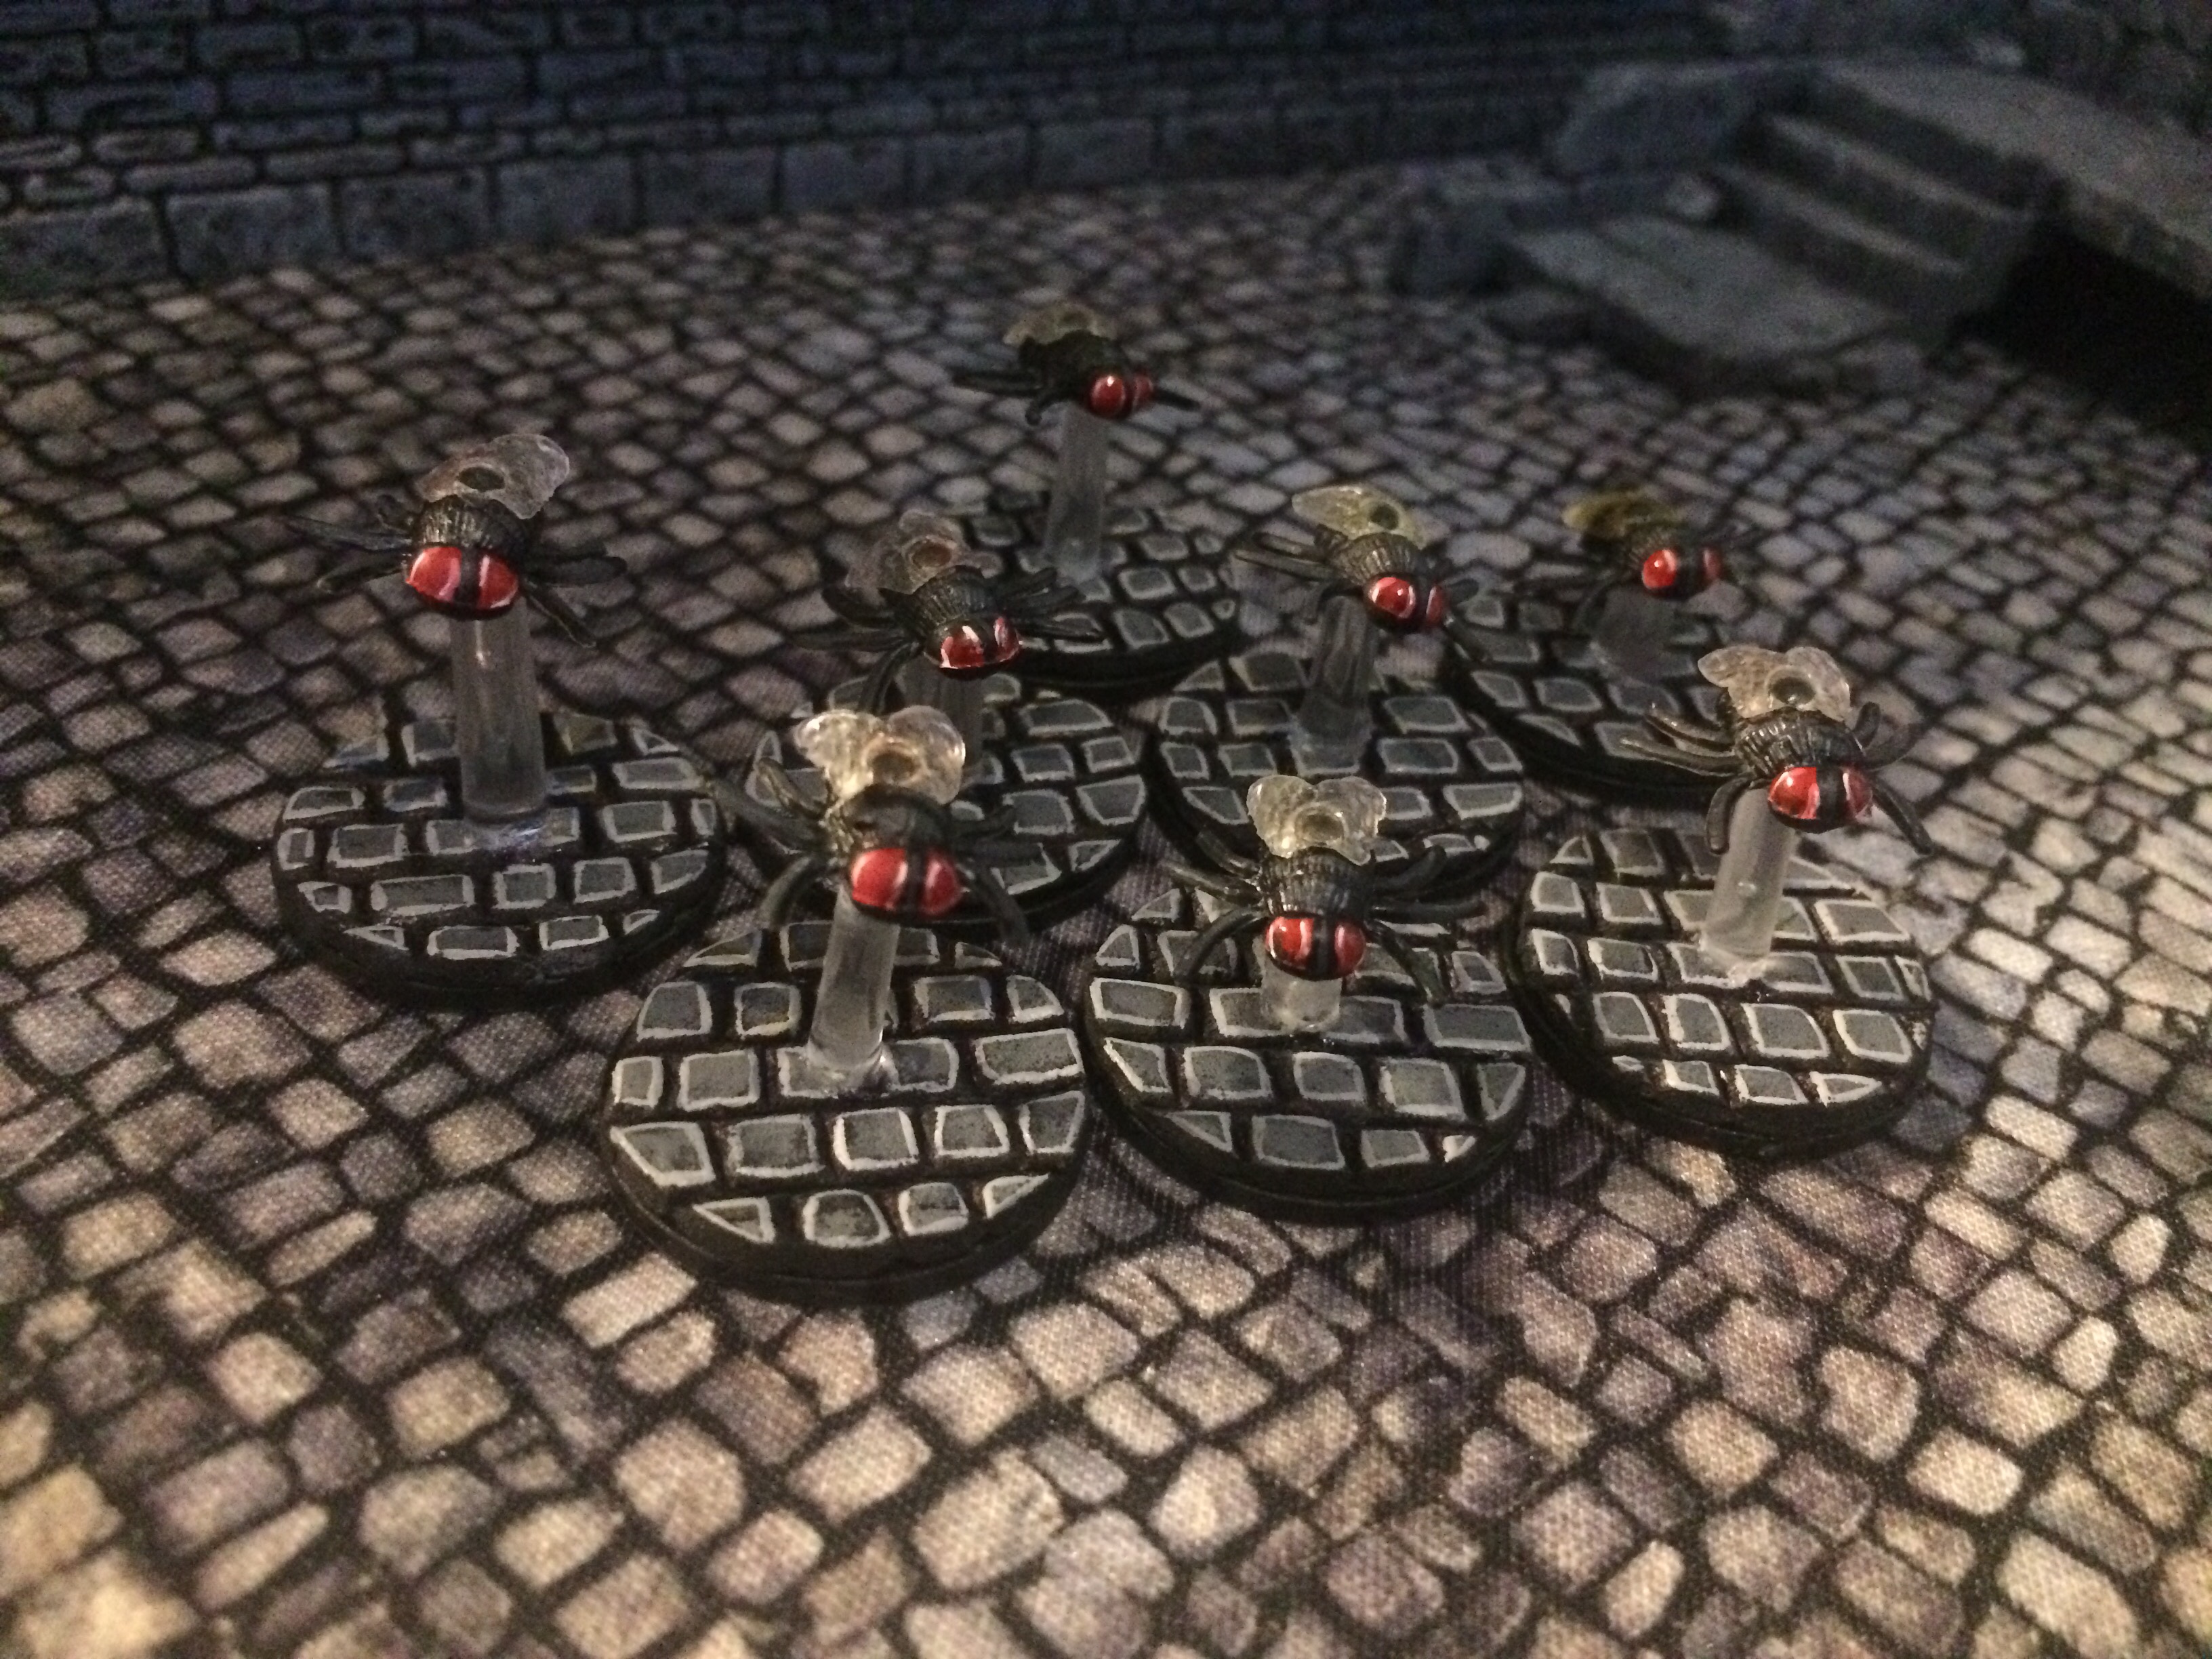
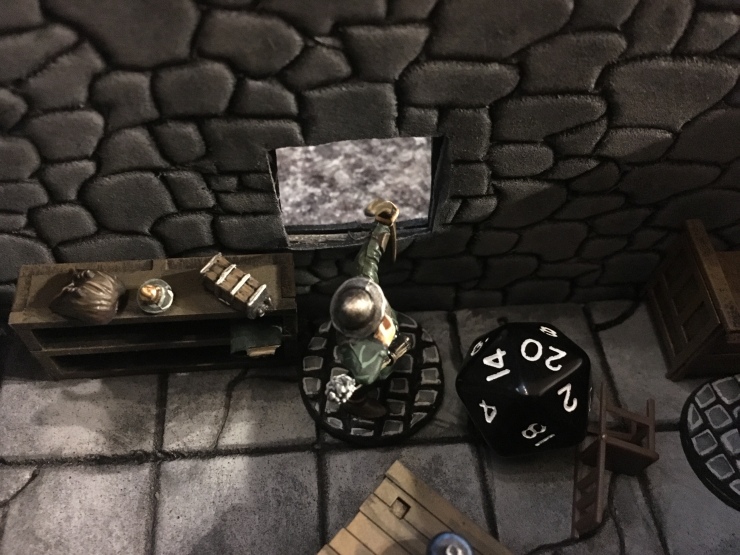
Here’s some pictures of the bases in action, all created using this simple technique. You’ll notice on my Warhammer bases, I’ve also scored and painted the edges of each cobble.


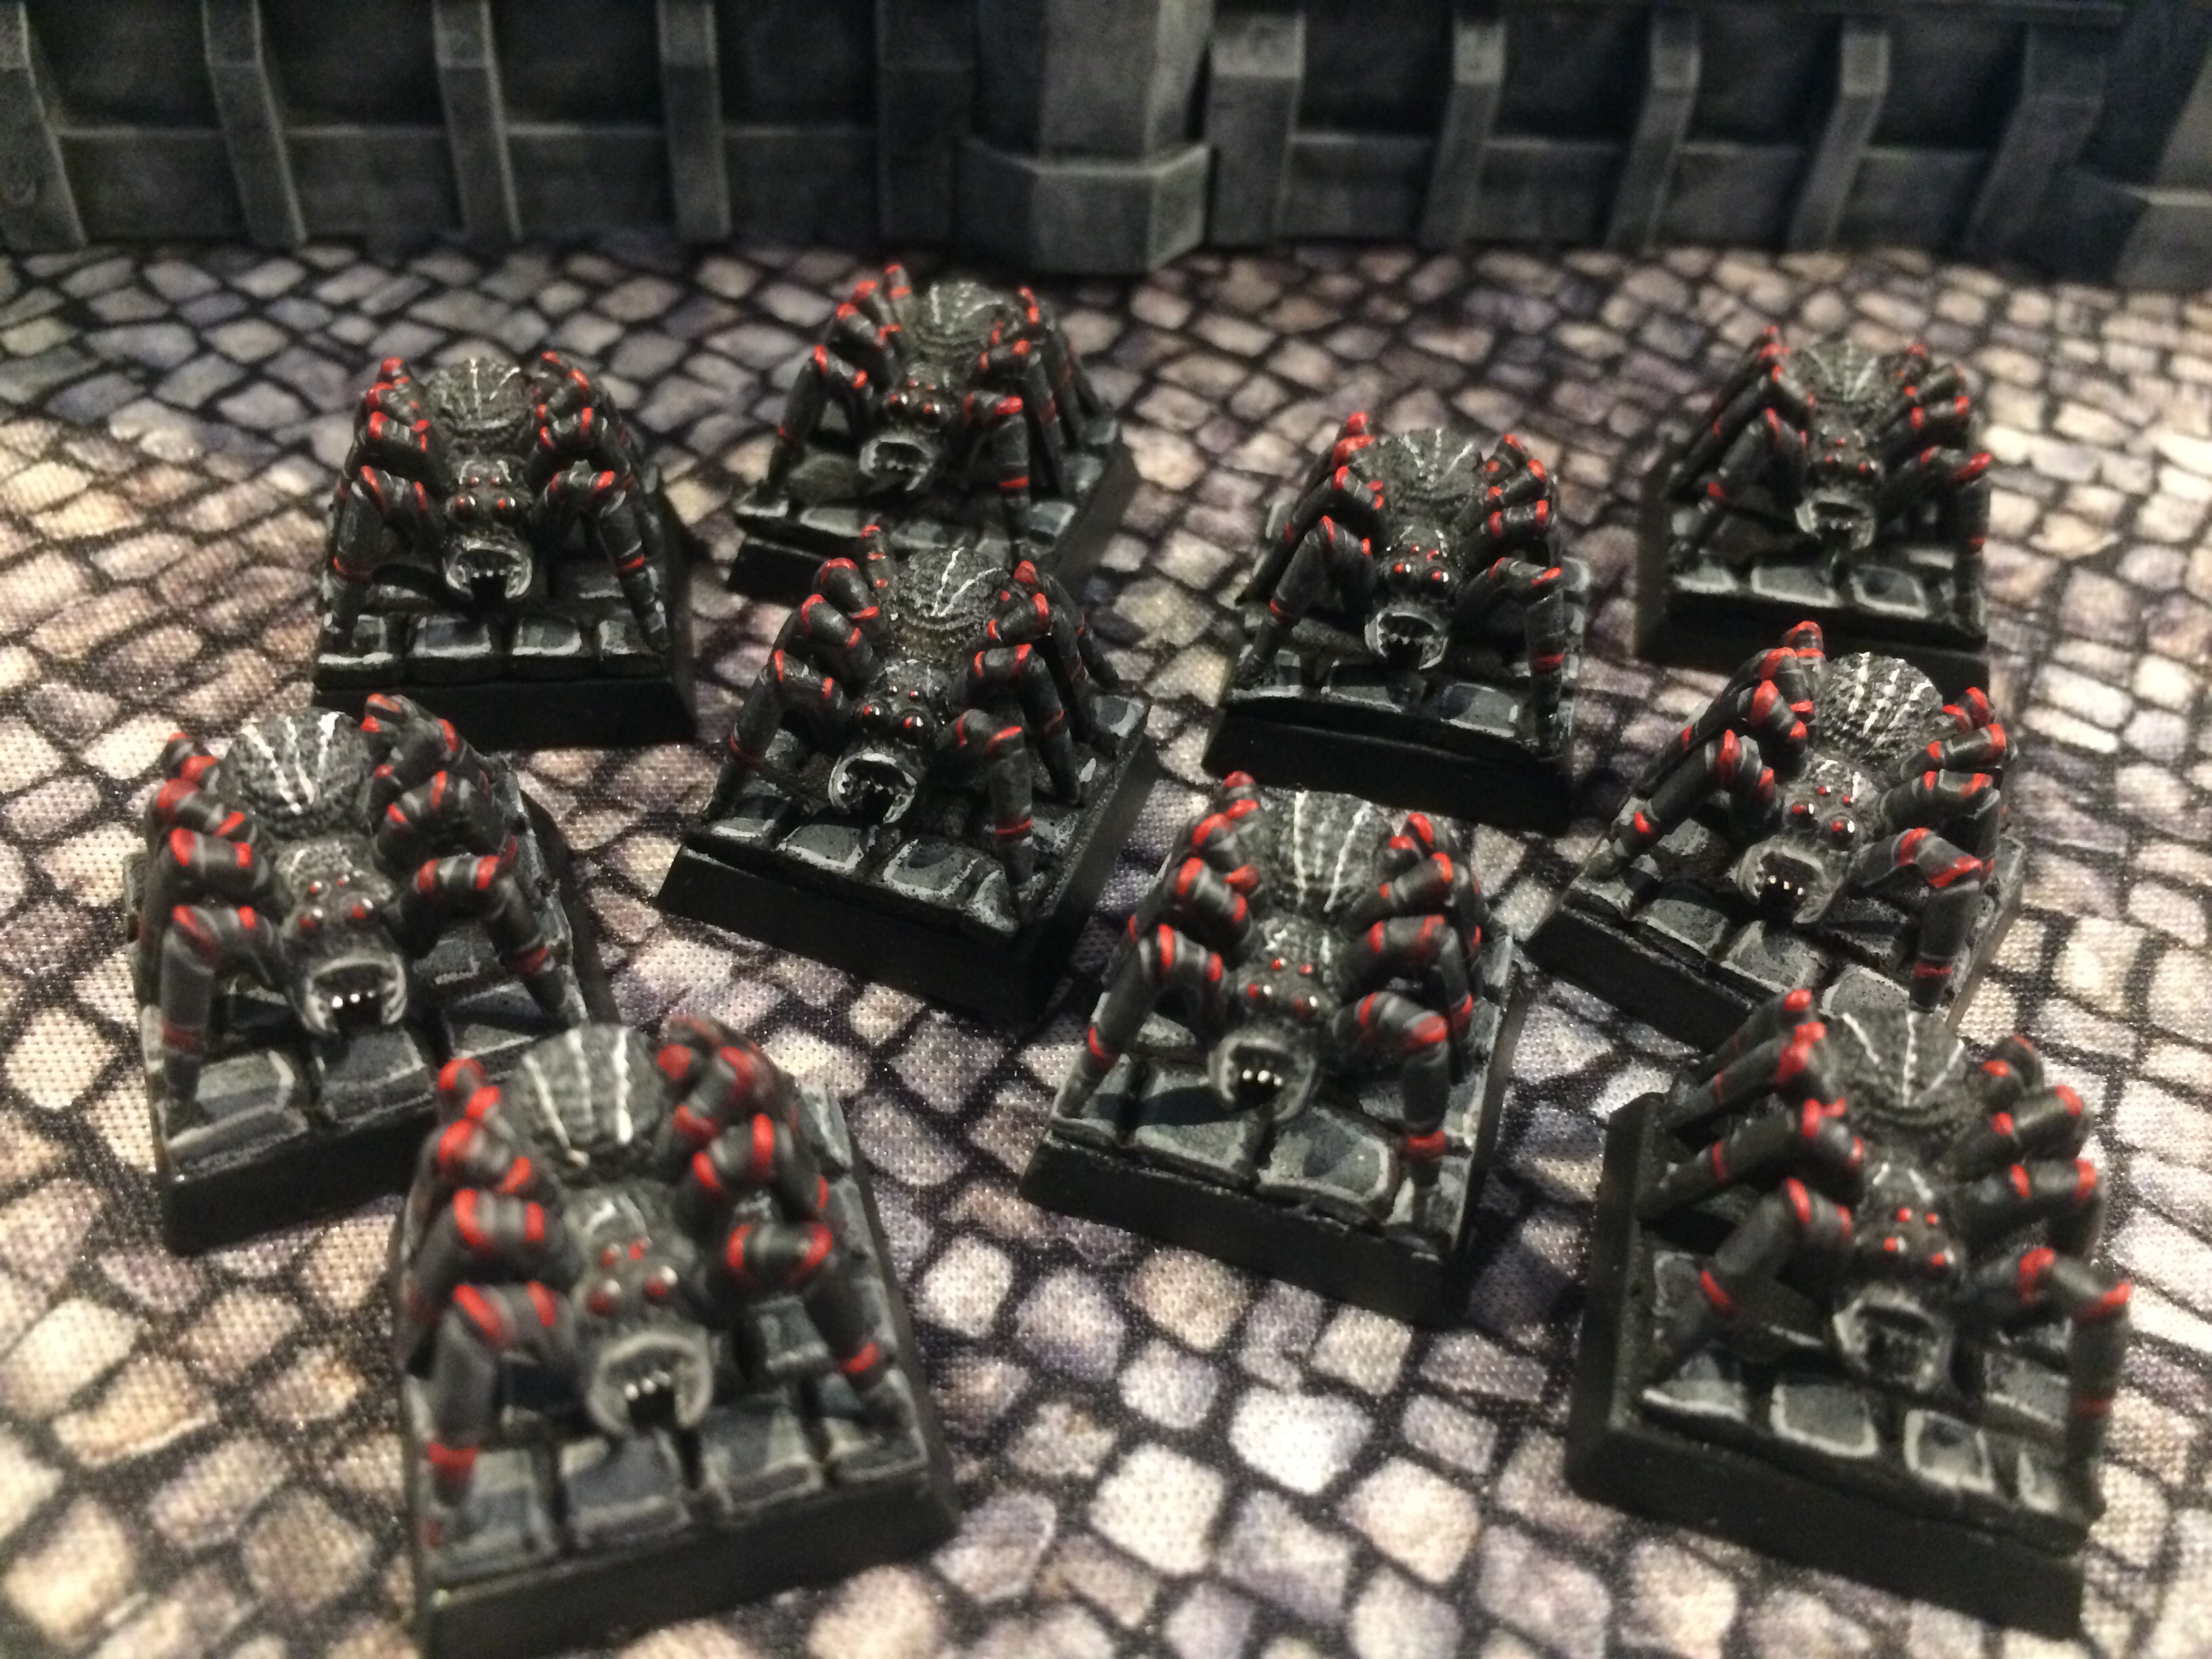


Old school Dark Elves. Some of my earliest attempts at this cobble method!

Scenery extras:
After using the foam for bases, I began to wonder about it’s possible uses for bigger terrain pieces and have experimented with using the foam, mounted on card to create dungeon tiles, buildings and more! I’ve found the foam can be quite absorbent, even when undercoated, so you don’t have to be as careful when dry brushing!
Let me know if you try it and have any other thoughts or ideas!

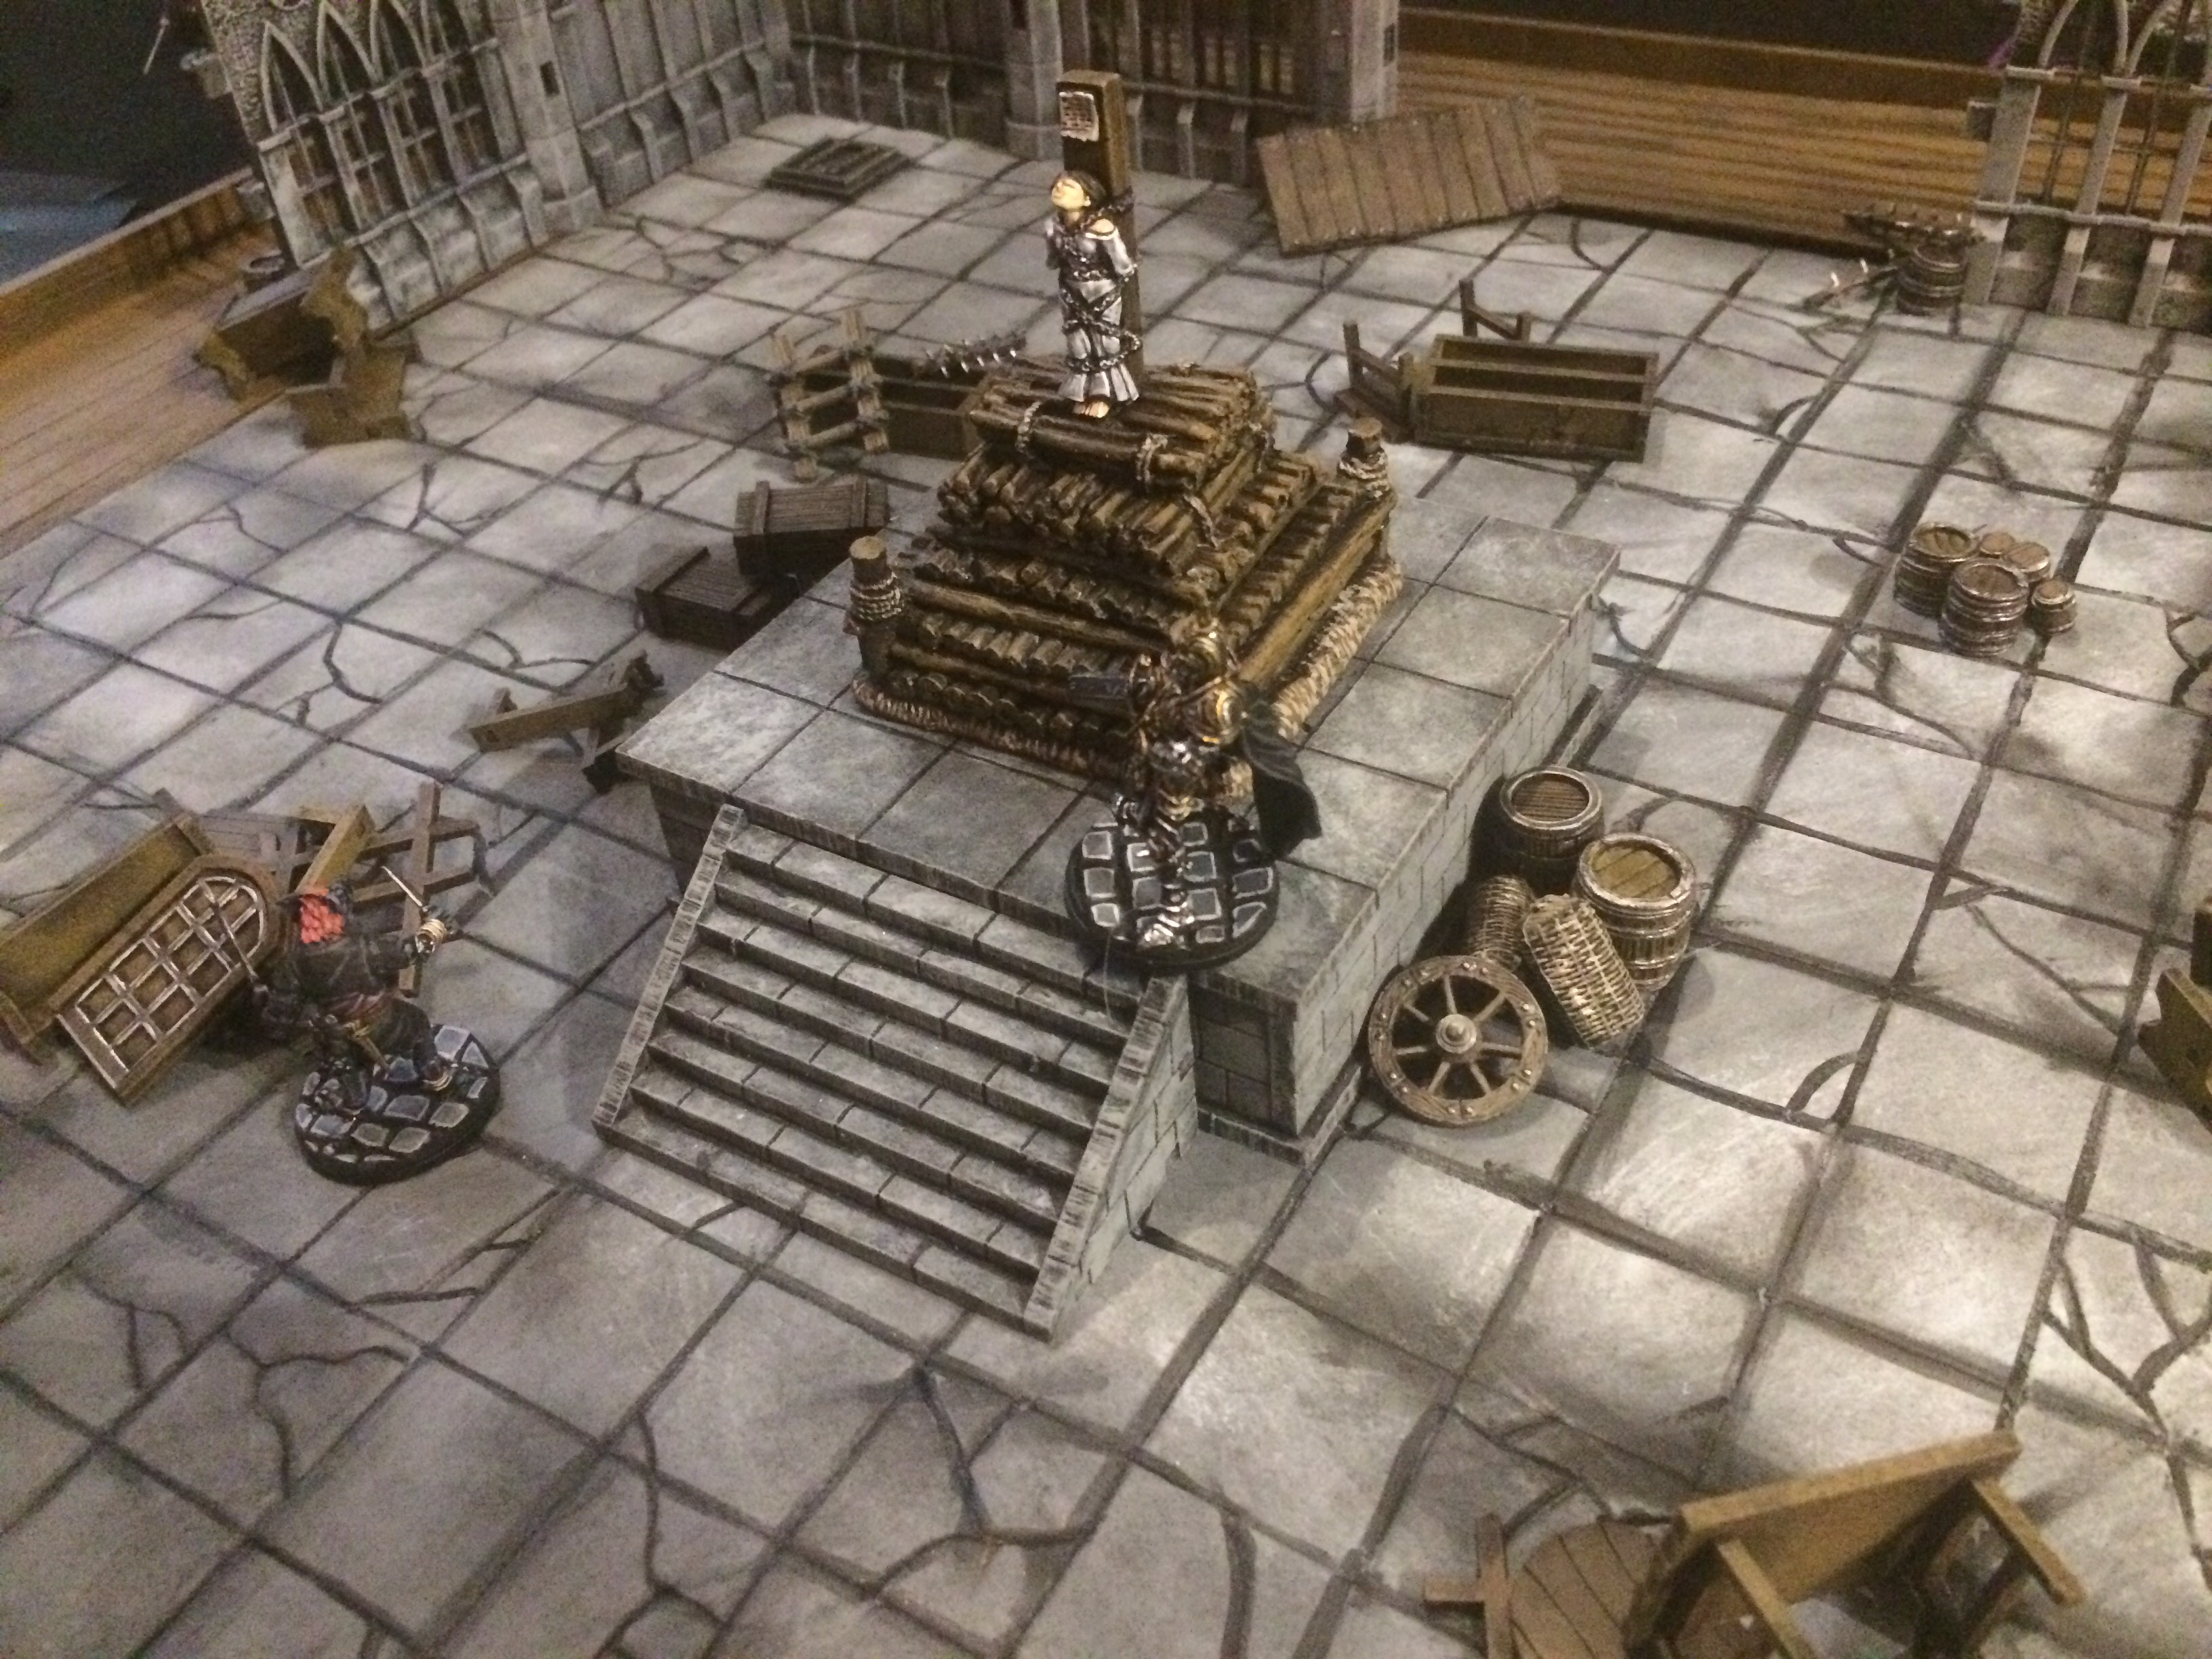
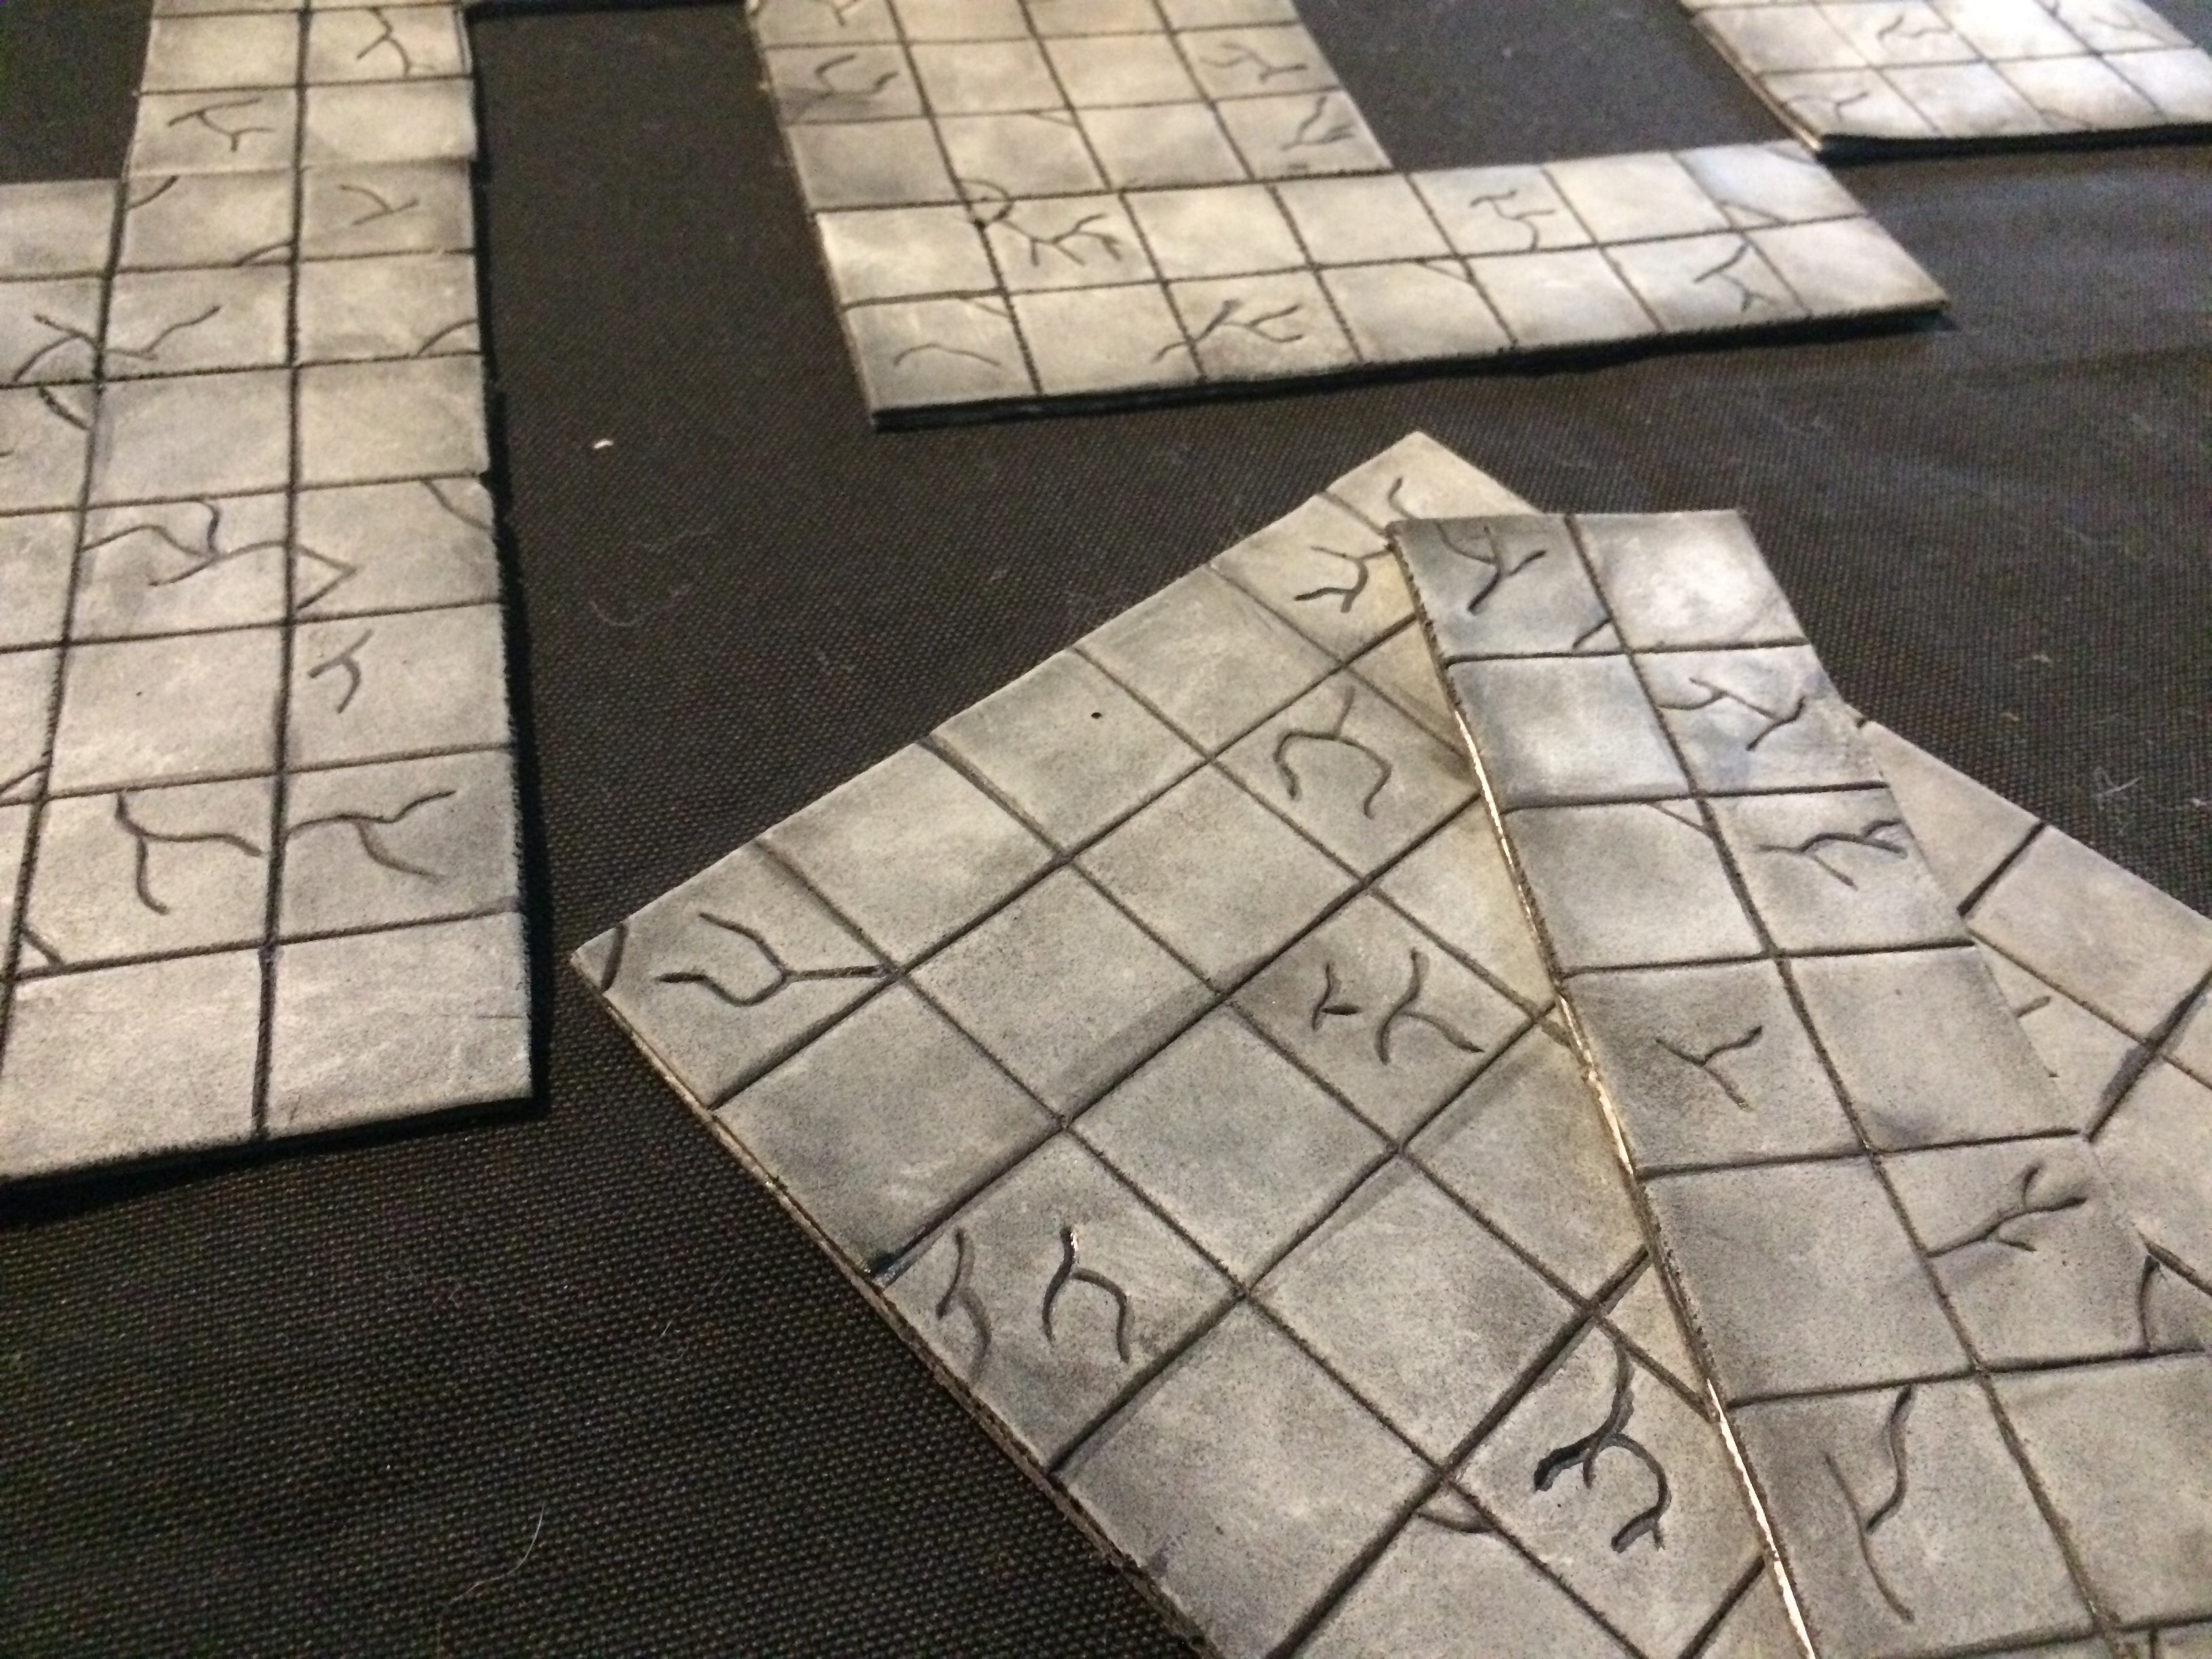
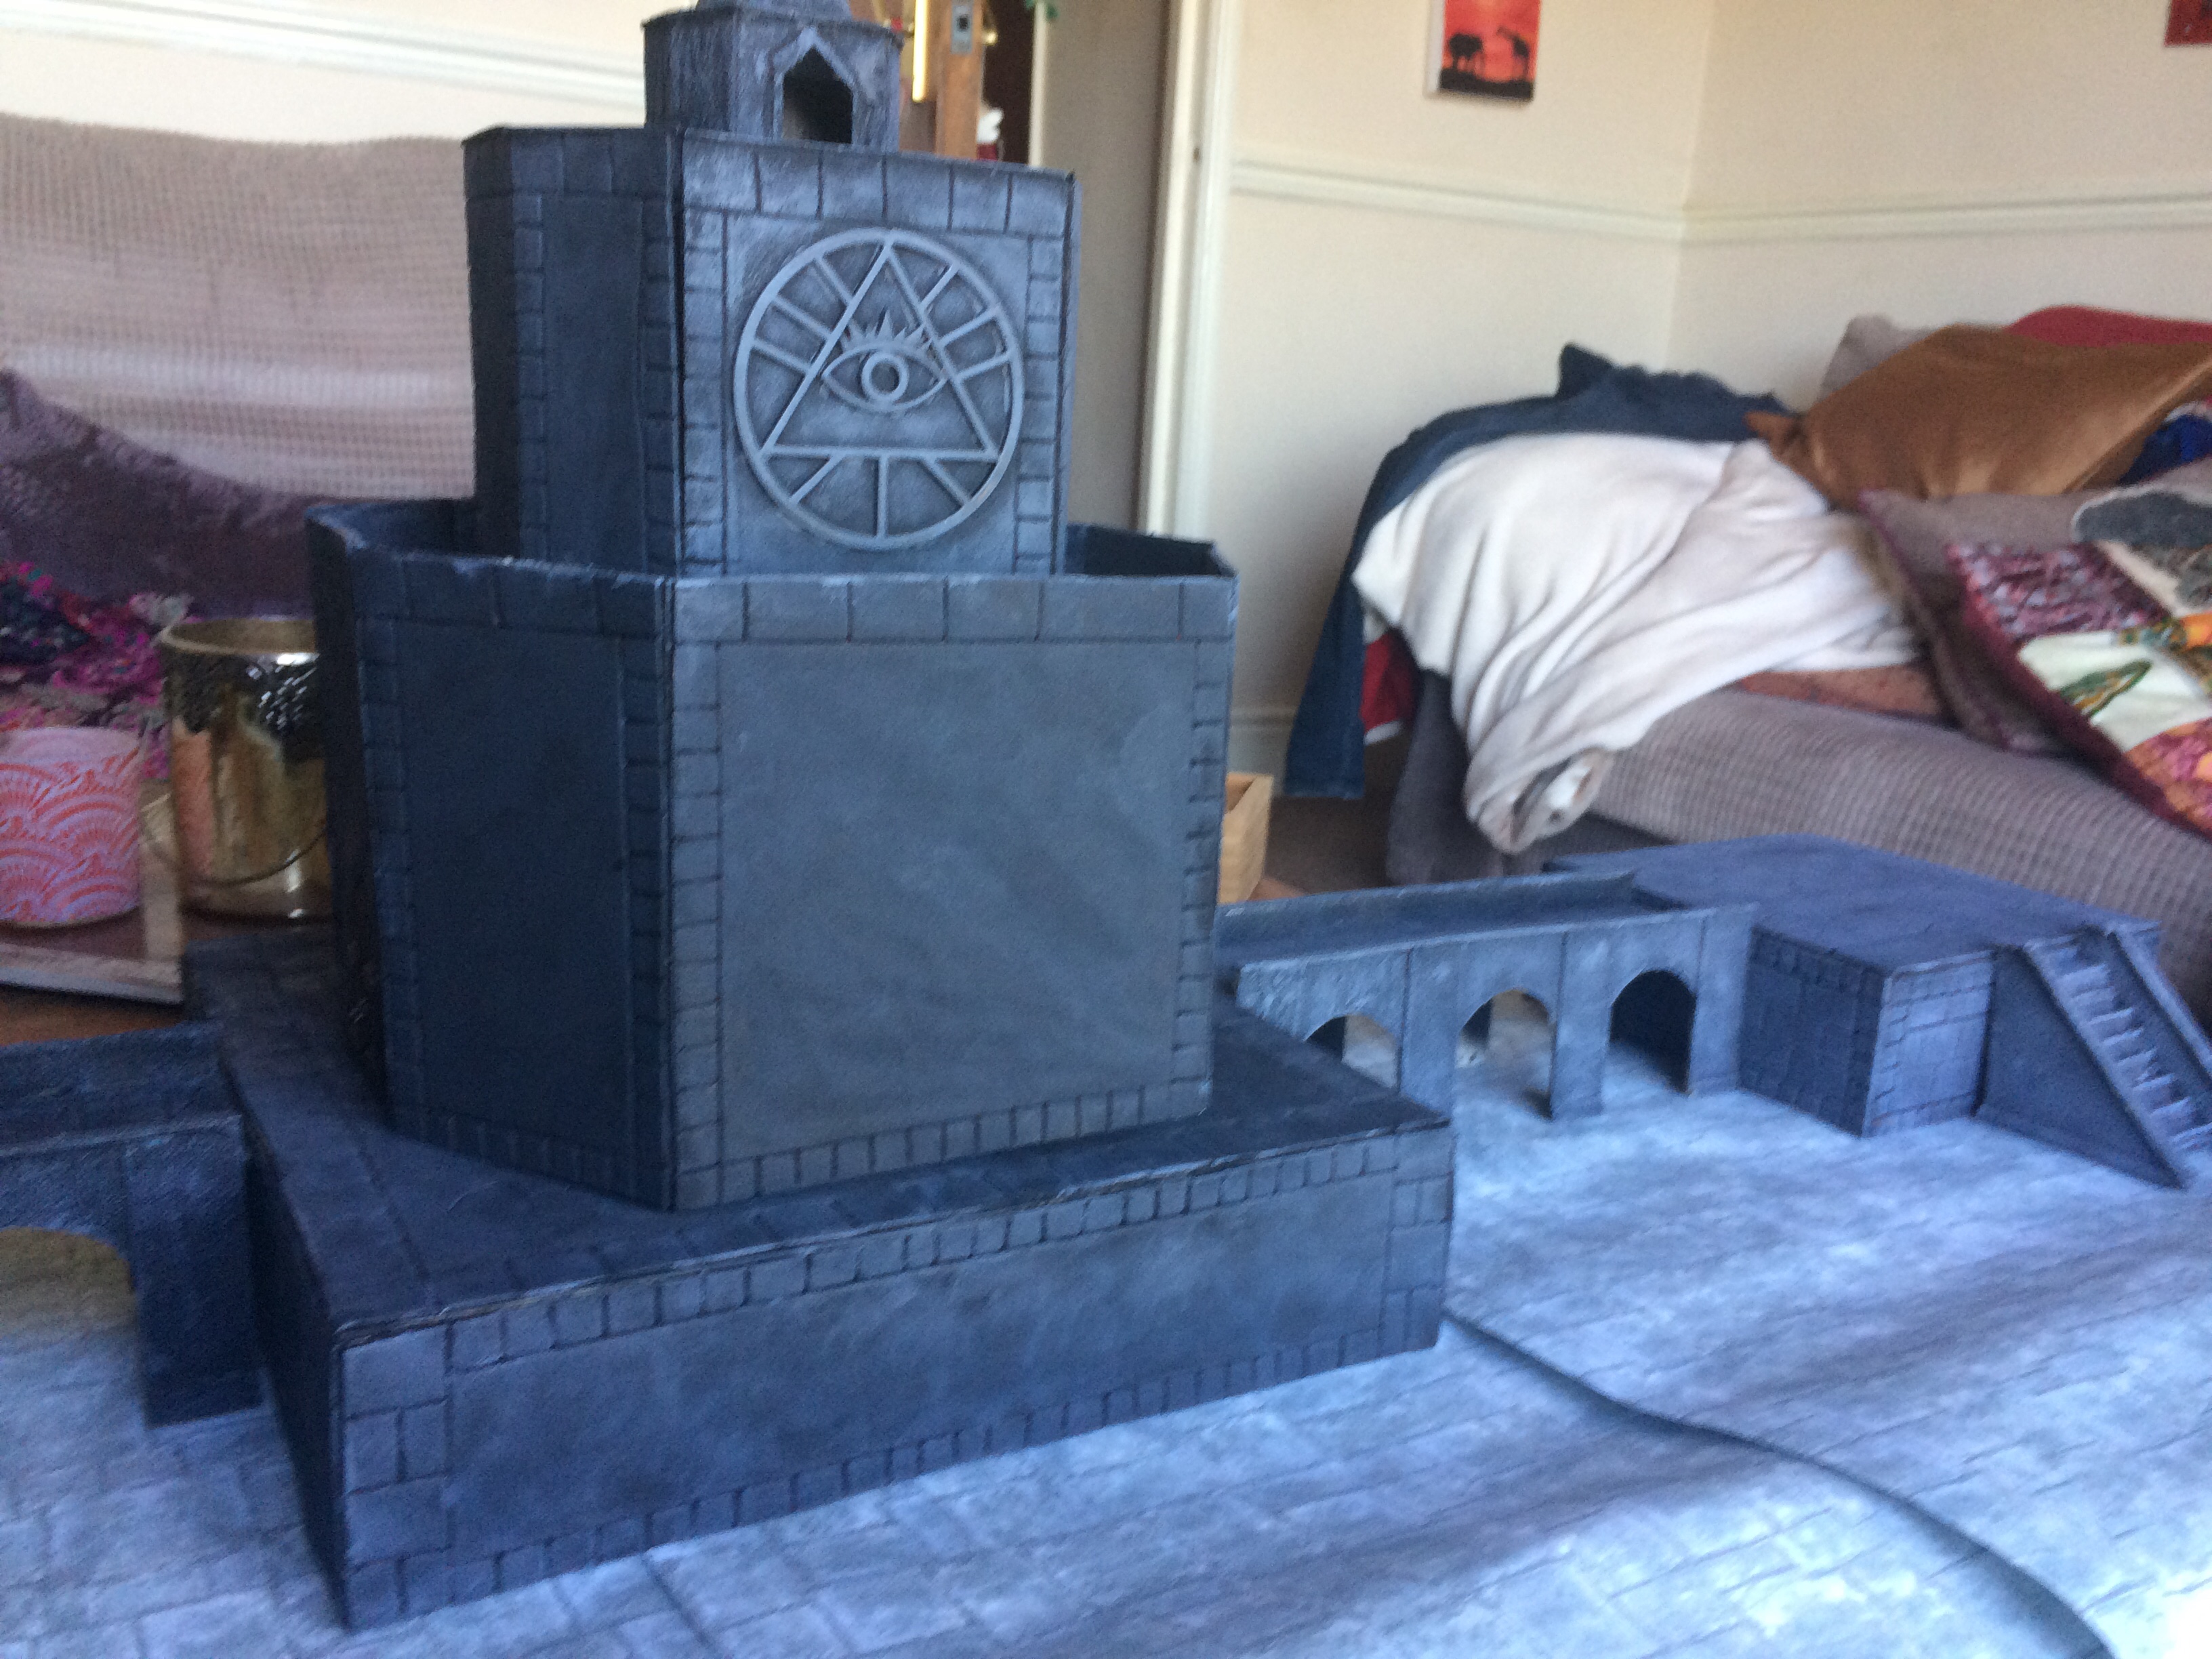

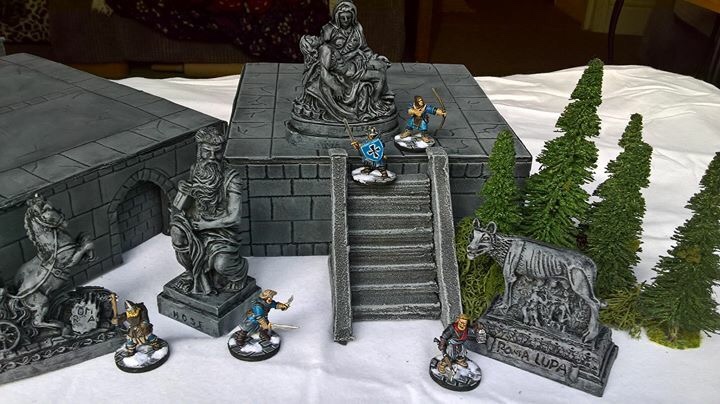
The square raised section have been made from card, coated with foam and the brick pattern scored in! These were inspired by this project on the shedwars blog (see the post here)!

There you have it! Thanks for reading and be sure to send me pictures of your own creations if you found this helpful or inspiring!
Thanks! 🙂
